Wishlist
Most people think organizing a pantry just means stacking cans — it takes a few more small choices
Start with one practical goal: make it faster to find what you need and to see what’s expired or low. These pantry organization tips will help you clear visible clutter, create sensible zones, and set habits that keep the space tidy without daily effort. Use the quick wins first, then add a couple of deeper changes where they fit your pantry’s size and layout.
Quick wins you can do in 30–60 minutes
- Pull everything out and toss expired items. Working shelf by shelf, check dates and smell questionable items like rice or spices. Donate unopened nonperishables you won’t use.
- Group like with like. Put breakfast items together, baking, canned goods, snacks and bulk staples in clear groups so you can scan shelves at a glance.
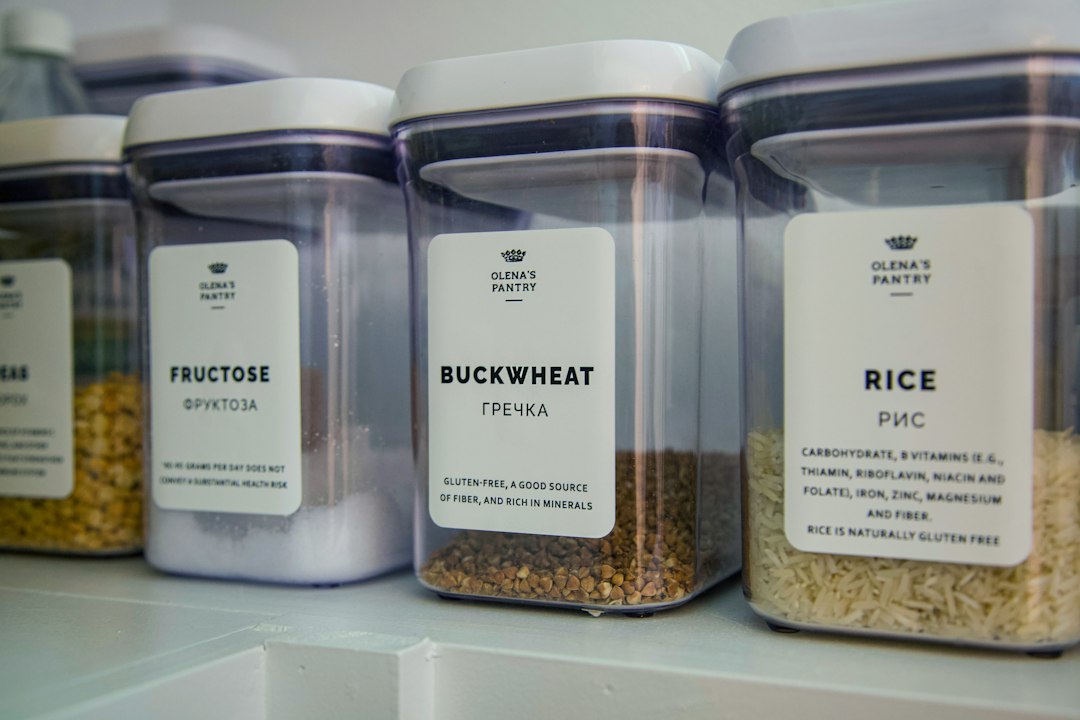
- Use clear containers for loose goods. Transfer rice, pasta, flour and cereal into airtight containers — they stack and instantly read cleaner than mismatched bags.
- Label the edge of shelves and containers. A simple label maker or printed tape saves time: “Baking,” “Pasta,” “Kid Snacks.” Labels reduce accidental re-shelving in the wrong place.
Make a zone system so items live where you use them
Zones prevent future mess by matching storage to behavior. Assign three or four zones that fit how your household cooks and snacks:
- Everyday zone — eye-level shelves for coffee, tea, breakfast cereal and lunchtime staples.
- Cooking zone — near where you prep: oils, vinegars, frequently used spices, rice and pasta.
- Bulk and overflow — lower or upper shelves for paper goods, bulk bags and rarely used appliances.
- Kid and grab-and-go — snacks and single-serve items at a child-friendly height or in an over-the-door organizer.
Place heavier items low and lighter, less-used items higher. That keeps the pantry safer and simpler to maintain.
Use storage types that match the problem
Not all organizers do the same job. Match the container to the recurring issue you face.
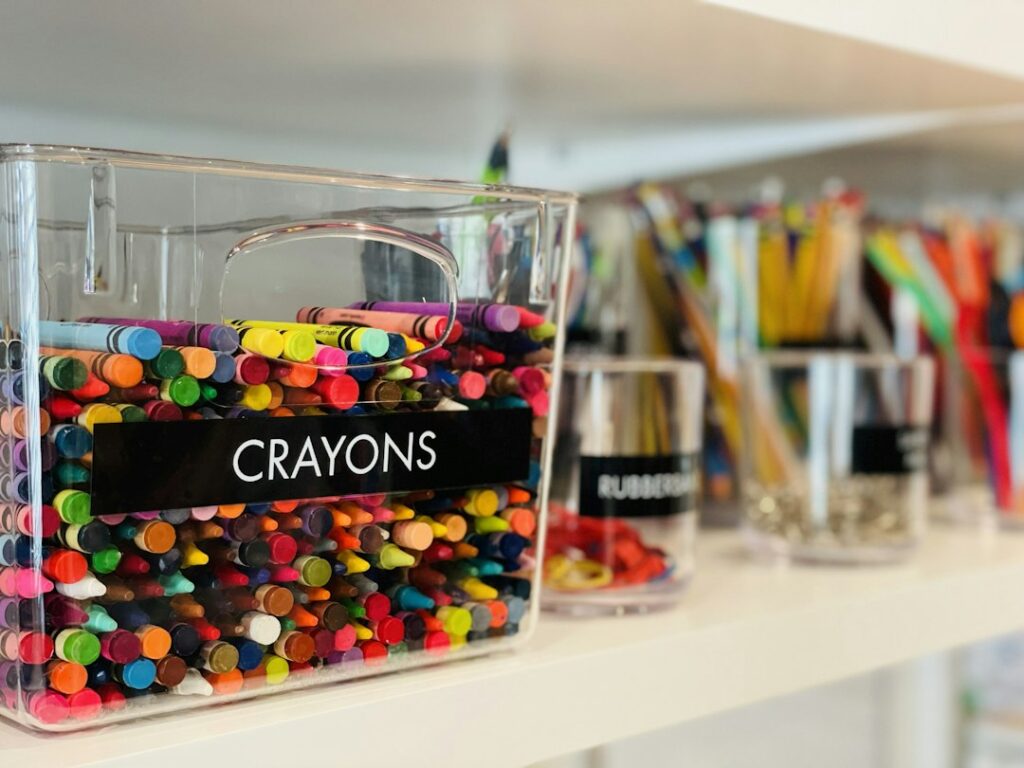
- Clear plastic bins — best for corralling multiple small items (granola bars, packets, seasoning pouches). They make inventory visible and slide out for easy access.
- Stackable airtight containers — for staples that go stale if left in bags. Pick square or rectangular for better shelf use.
- Lazy Susans — ideal for oils, sauces and small bottles so back-row items don’t get lost.
- Wire pull-out baskets — work well on lower shelves to avoid digging and to create a “drawer” feel.
- Over-the-door organizers — reclaim vertical space for snacks, small jars or baking supplies when shelf space is tight.

Small design choices that save time and money
These details make the system last past the first tidy week.
- Adopt a first-in, first-out rule. Place newly purchased items behind older ones to avoid expired food and waste.
- Standardize containers where possible. Using a few sizes of clear containers keeps the visual clutter down and makes stacking easier.
- Keep a short pantry inventory list on the door. A chalkboard or dry-erase list of staples removes duplicate buys and short shopping trips.
- Batch similar open packages. If you keep multiple small packets (e.g., instant soup), store them in a single bin rather than scattered across the shelf.
When to invest in a built solution
If your pantry is a constant battle — narrow shelves, deep dark corners, or frequent spills — targeted hardware helps. An over-the-door organizer is the highest-impact, low-effort upgrade because it uses otherwise wasted space and is easy to install. For lower shelves, pull-out wire baskets or a three-tier can organizer make access and rotation simple.
Recommendation: if you want a strong, ready-to-use option for snacks and small packets, consider adding an over-the-door organizer that fits your door dimensions.
Keep it working with a 10-minute weekly reset
Spend 10 minutes each week to stay ahead: sweep crumbs, return out-of-place items to their zones, and glance at dates. A short check reduces the need for a big purge later.
Decide what to change first
If you have 30 minutes: purge and group like items. If you have $25–50 and a narrow pantry door: add an over-the-door organizer for snacks. If repeated digging is the problem: pick two sizes of clear stackable containers and a label maker — the visual payoff is immediate and maintenance becomes easy.

- Clear expired and donate unopened items.
- Group items into 3–4 functional zones.
- Buy 2 sizes of airtight containers and clear bins.
- Label shelves or containers for quick reshelving.
- Install an over-the-door organizer if door space exists.
- Schedule a 10-minute weekly reset on your calendar.
Choose one quick win (purge or group) to build momentum, then add one storage solution that solves your biggest pain — clear bins for loose goods or an over-the-door organizer for snack overflow. Small, consistent resets keep the system working.
How do I store bulk flour and sugar without pests?
Use airtight, food-grade containers with secure lids and keep them elevated from the floor. Add the purchase date and store in a cool, dry place; consider using oxygen absorbers for long-term grain storage.
What’s the best way to organize spices?
Group by use (baking, savory, blends), use uniform jars where possible, and keep frequently used spices at eye level or on a small countertop rack near the stove.
Will clear containers save space?
Yes—square or rectangular clear containers reduce wasted shelf space compared with irregular bags and make stacking easier, which increases usable capacity.
How many zones should a small pantry have?
Two to three zones usually work: everyday (eye level), cooking (near prep area), and overflow/bulk (top or bottom shelf).
Are over-the-door organizers secure for heavy items?
They’re best suited for light to medium items like snack packs, small jars and boxes. Check the organizer’s dimensions and weight limits before loading heavy cans.